
Sending attachment's in email using Mail Monkey
Mail Monkey is our company's internal product built for sending beautifully templated emails.
Brief about mail-monkey
- Plugin to simplify the mailing process with the help of MJML
- We need to register our app on mail-monkey by providing the app name
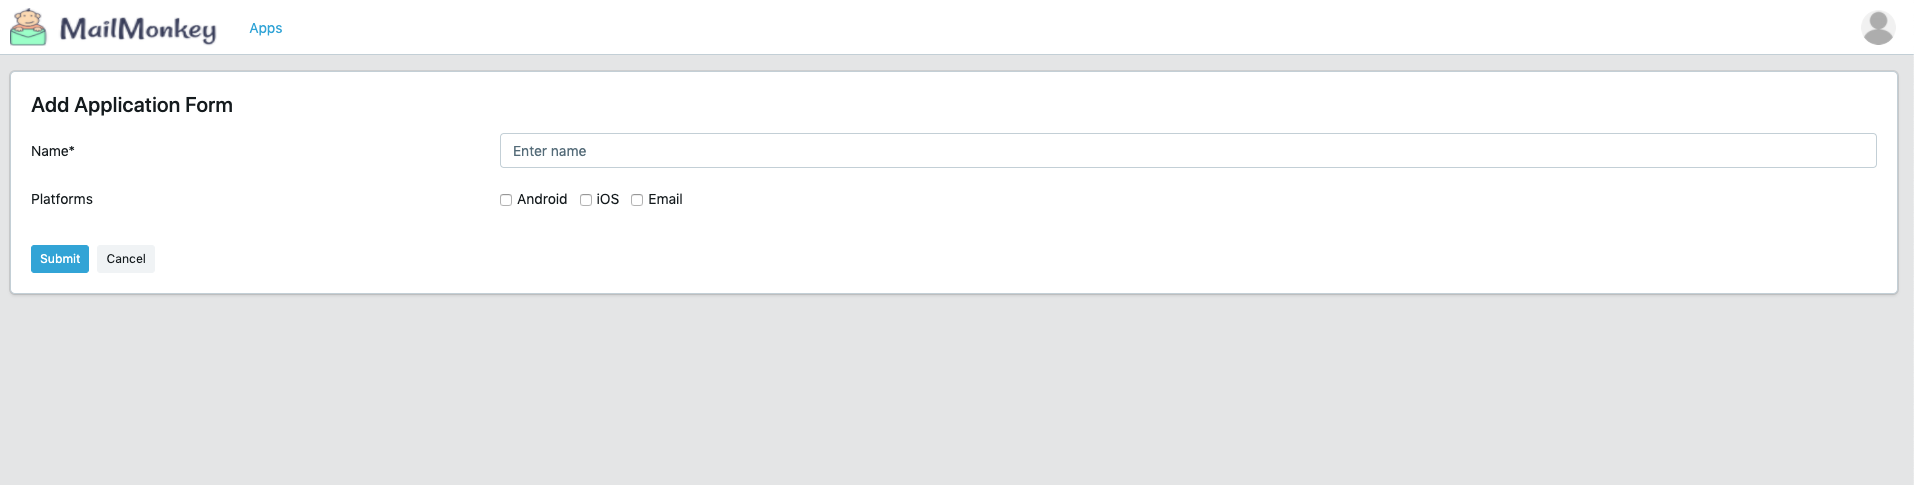
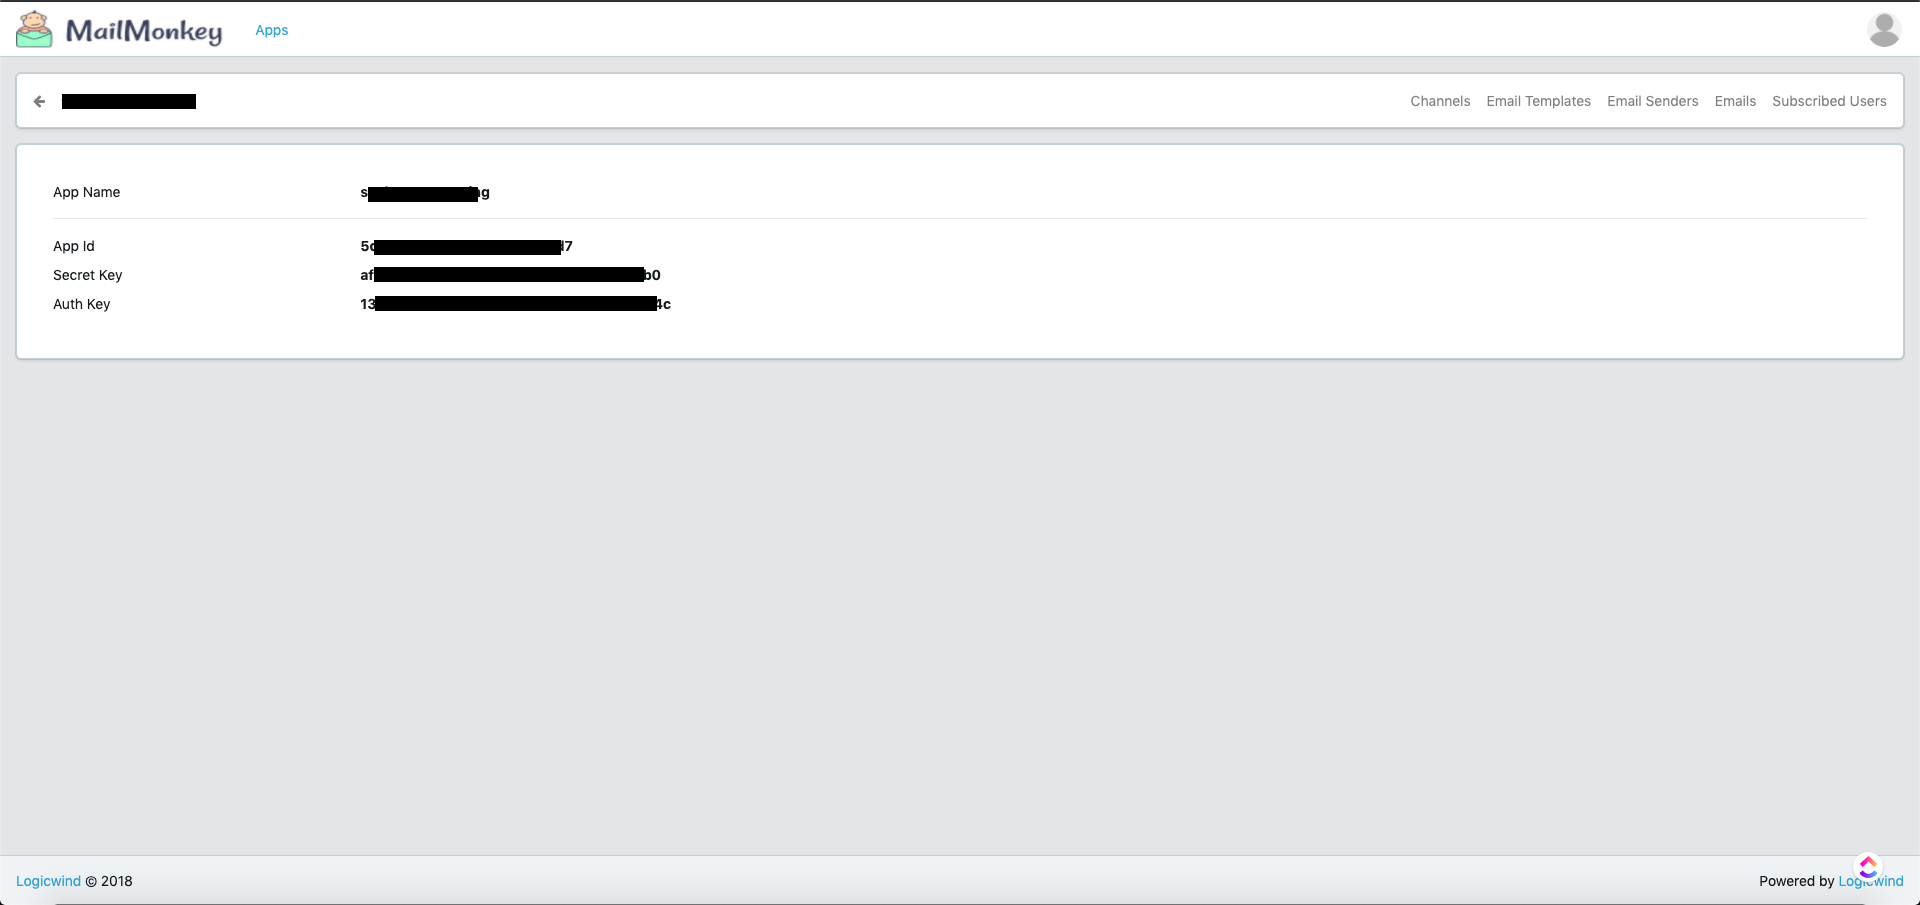
- This will generate app for us and provide us with credentials like App Id, Secret Key, Auth Key which we will be using in our project
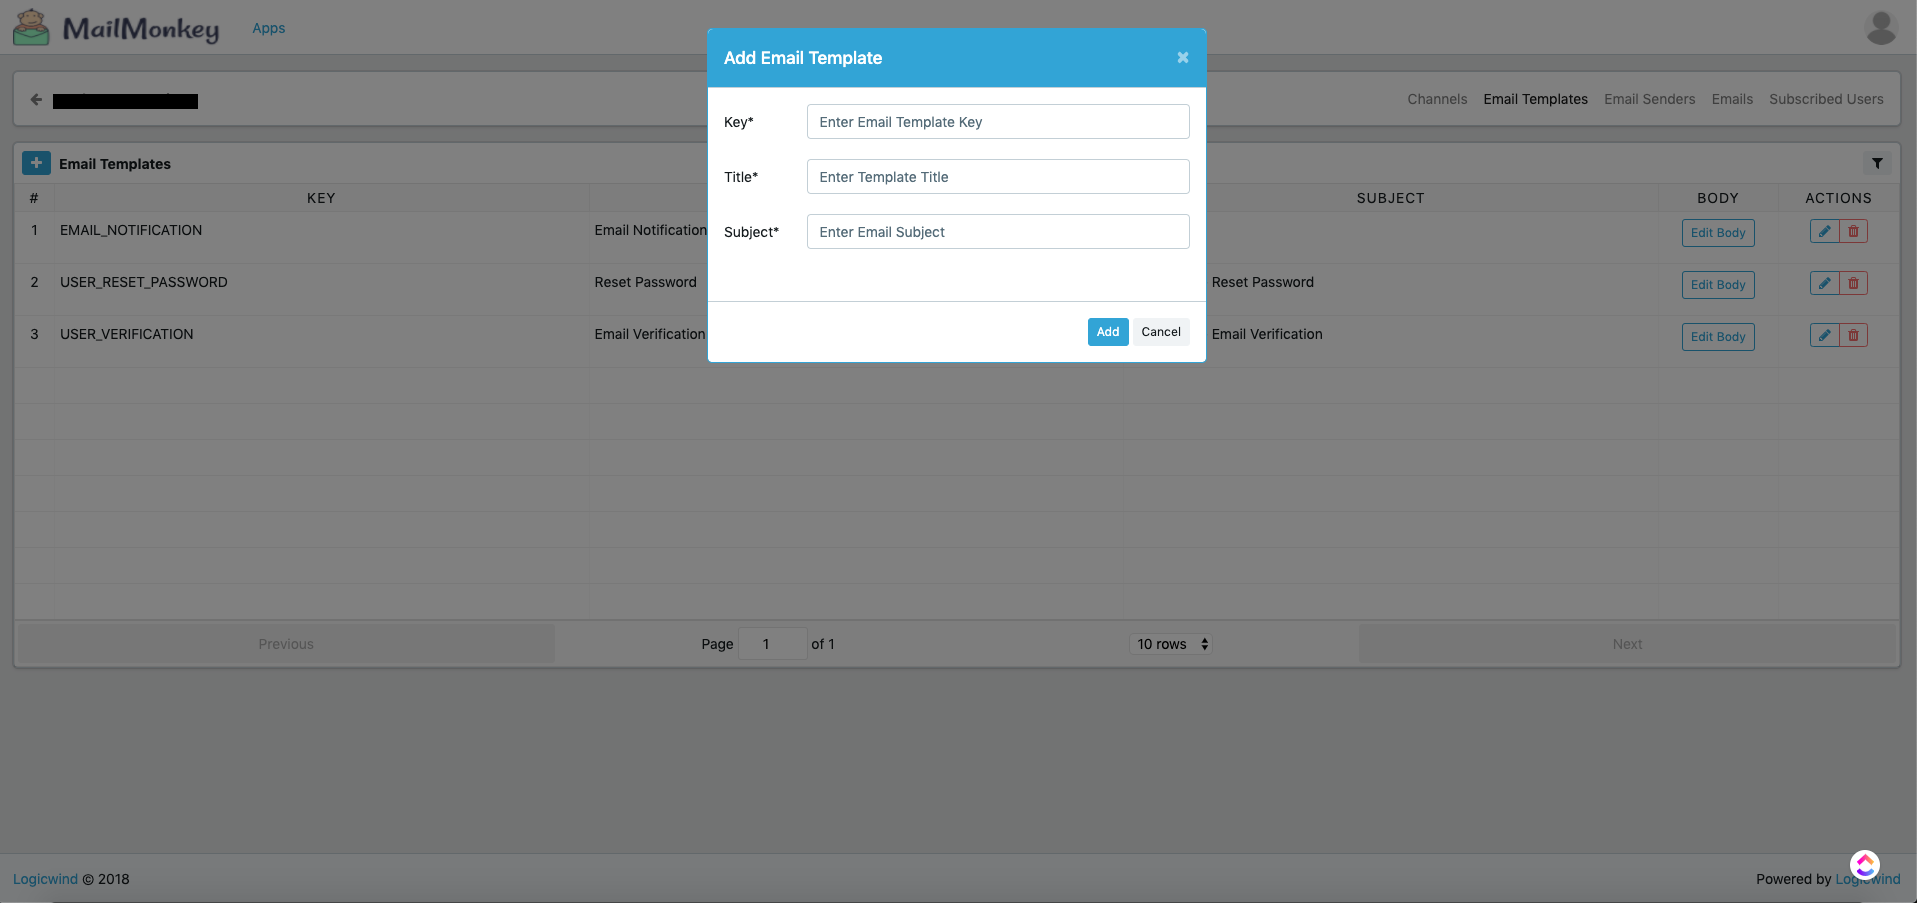
- In Email Templates we can create various templates by providing key, title and subject (key should be unique)
- After the template is created we can add body to it. Body can be simple image, html code, simple text, etc. Body can contain placeholders which will be replaced the values we send (placeholders are set in double opening and closing curly braces like
{{placeholder_name}})
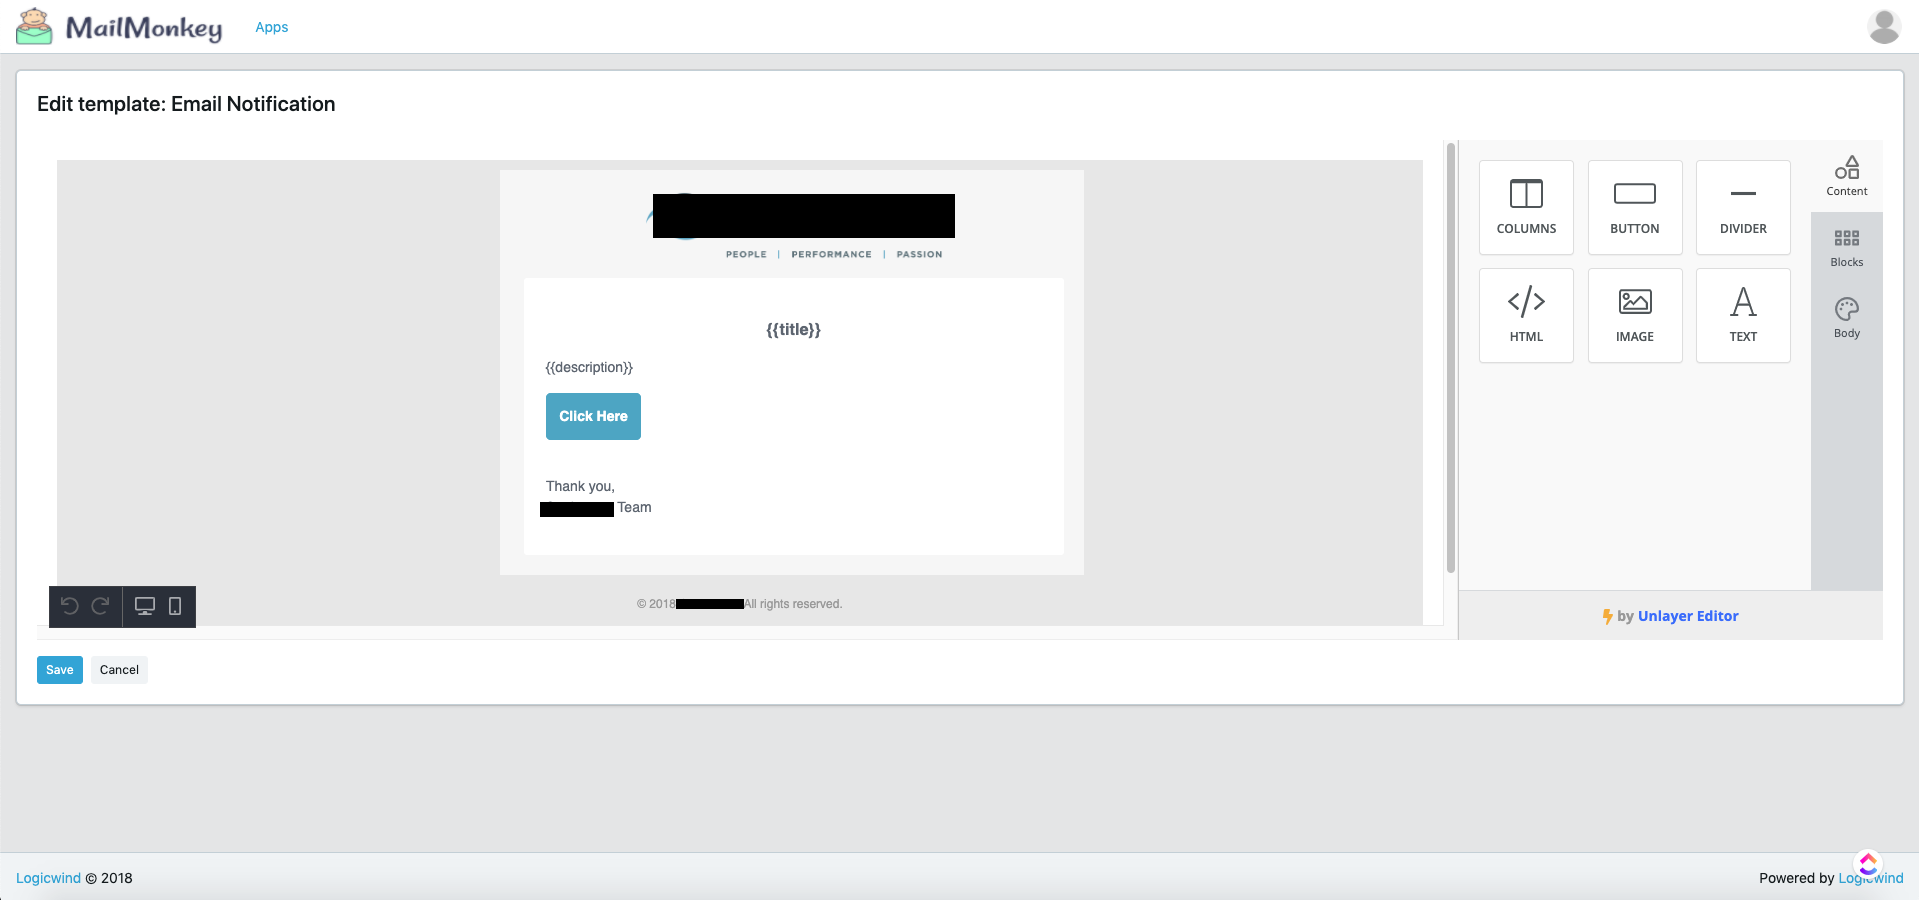
- Here in the above image
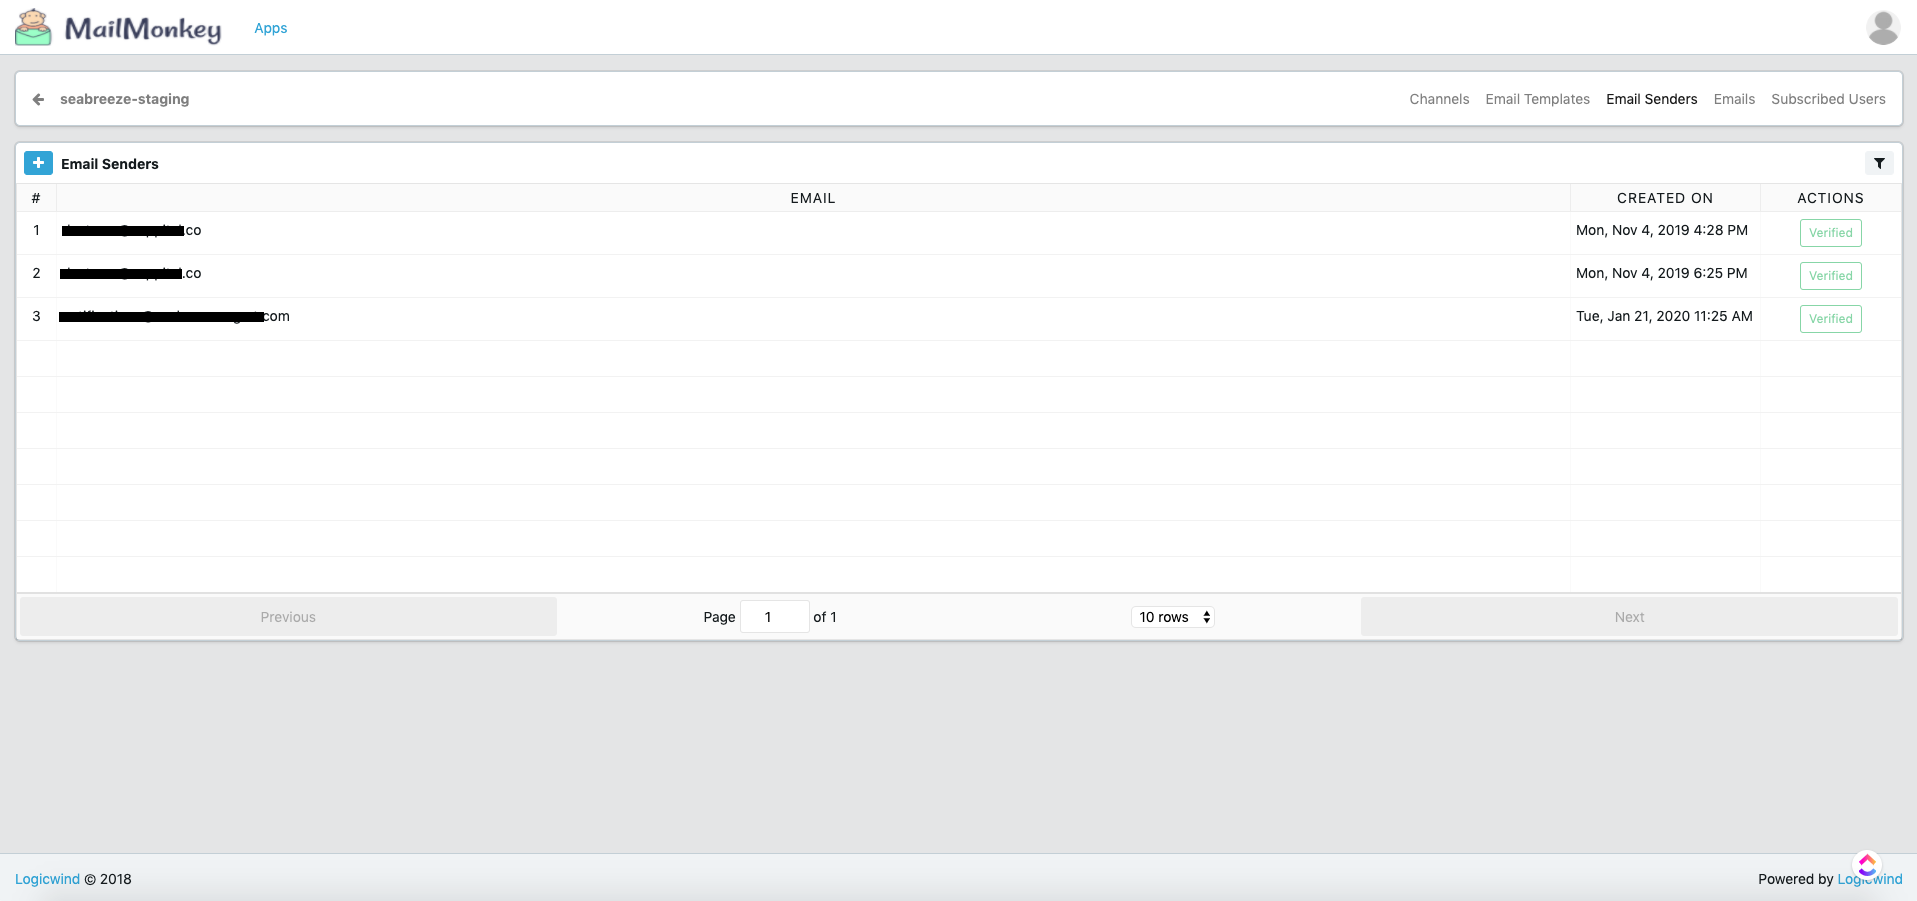
{{title}}and{{description}}are placeholders that will be replaced by values we pass to them - In Email Senders we can add emails that will be set as fromEmail when the email is sent
Integrating mail-monkey in node.js project
- We need to set the credentials obtained while generating the app in .env file
- Sample code
 const appData = {
    applicationId: MAIL_MONKEY_APPLICATION_ID,
    secretKey: MAIL_MONKEY_SECRET_KEY,
    fromEmailName: MAIL_MONKEY_FROM_NAME,
    fromEmailAddress: MAIL_MONKEY_FROM_EMAIL,
    toEmailAddresses: [toEmailAddress], //can send email to multiple addresses
    templateKey: TEMPLATE_KEY_REGISTERED_ON_MAIL_MONKEY,
    data: {
        title: TITLE,
        description: DESCRIPTION,
    }
  };
  const reqObj = {
    url: url,
    body: appData
    json: true,
    headers: {
      'content-type': 'application/json'
    }
  };

  request.post(reqObj, (error, response, body) => {
    if (error) {
      logger.error('ERROR > MAIL API > ', error);
    } else {
      logger.info('STATUS CODE > ', response.statusCode);
      logger.info('RESP BODY > ', body);
    }
  });
- Here the data in appData is object which contains data whose value we want to replace in the placeholder in our template generated on mail-monkey server.(key name in data object should be same as placeholder name in template.)
- We will get 200 status code if email was sent successfully.
- If any error occurs we will get error logged
This above sample code was for sending simple mail. But often we need to send some attachment in mail. Following is the sample code for sending attachment in email through mail-monkey.
- Sample code for sending attachment
  let formData = new FormData()
  let dataSet = {
    'applicationId': MAIL_MONKEY_APPLICATION_ID,
    'secretKey': MAIL_MONKEY_SECRET_KEY,
    'fromEmailName': MAIL_MONKEY_FROM_NAME,
    'fromEmailAddress': MAIL_MONKEY_FROM_EMAIL,
    'toEmailAddresses': [toEmailAddresses],
    'templateKey': TEMPLATE_KEY_REGISTERED_ON_MAIL_MONKEY,
    'data': {
        title: TITLE,
        description: DESCRIPTION,
    }
  }
  dataSet = JSON.stringify(dataSet)
  formData.append('data', dataSet)
  formData.append('file', fs.createReadStream(path.join(__dirname, fileName)))
  const formHeaders = formData.getHeaders();

  axios(url, {
    data: formData,
    headers: {
      ...formHeaders
    },
    method: 'POST'
  }).then(res => {
    console.log('STATUS CODE > ', res.status)
  }).catch(error => {
    console.error(error)
  })
- Here in the above code, to send attachment we need to set data in formData along with file content.
Note - we can only send file that are on our local machine. If we want to send file from any url we can temporary create that file in our local machine, attach it in formData and send it through mail-monkey and then delete that file from local machine.
- Also we can set the replyTo email address if we are looking forward to here from our recipients. Only thing we have to do is add following in our dataSet object:
'replyTo': RECEIVERS_EMAIL
Conclusion
We can design email templates as per our choice and requirements along with dynamic content and attachments.