Seamless Animations on React-Native.
Yes. This is it. Probably the toughest part while building any feature heavy (and eye-catching) mobile app. You're done implementing all the other parts of UI while hesitating to think about these animations that you have to and have to build!
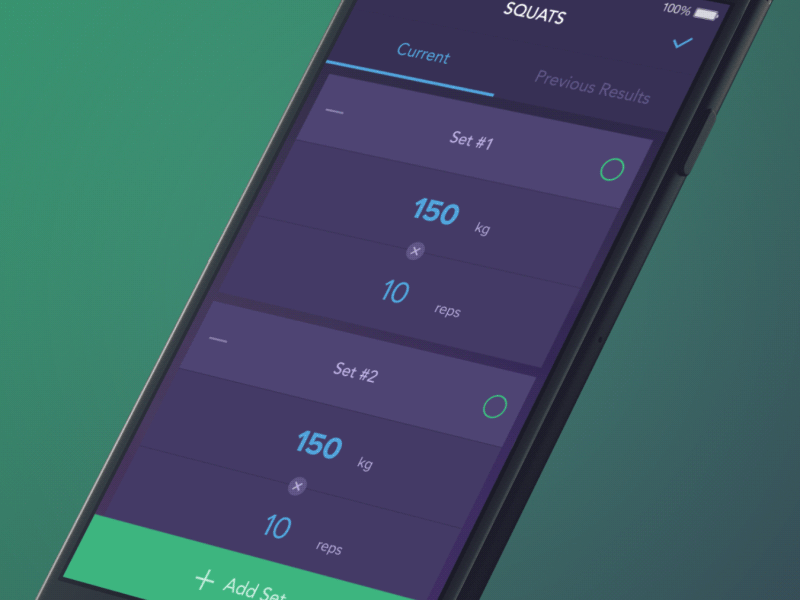
But what if I say its pure maths? What if I say its mere visualisation that can train your mind to think about various ways these animations can be built and in no time? Yes. That's what this is all about. In this and the upcoming few articles we are going to learn how to create animations by creating the screen in the below image in a step by step manner.

First, lets learn how the React Native Documentation explains Animations:
Animations are very important to create a great user experience. Stationary objects must overcome inertia as they start moving. Objects in motion have momentum and rarely come to a stop immediately. Animations allow you to convey physically believable motion in your interface.
React Native provides two complementary animation systems: Animated for granular and interactive control of specific values, and LayoutAnimation for animated global layout transactions.
(Note: The scope of this article is very wide considering the amount of stuff that can be learned. So I will be placing To Be Continued... in different parts of this article and will link them to my subsequent articles.)
This article explains the basics of the first animation system provided by React Native i.e Animated API. The Animated API makes it concise and easy for developers to create performant animations in a declarative manner, with dedicated start() and stop() methods so that developer has full control over these animations.
The Animated API exports four animatable component types:
ViewTextImageScrollView
( Note: You can also create your own animated component using Animated.createAnimatedComponent() To Be Continued... )
Everything that is required when building Animations
Lets consider a simple example of constructing a 'fade-out' animation on an animated view in order to learn what all is required for building animations.
1. A value that regulates the animation
An animation is normally obtained by altering one or more style values of a particular component. So we require one or more variables to store these changing value(s). In terms of React Native this value is an "Animated" value that should exist in your local state which is to be used to take your animation sequence from its start to its end. I call it the Hook.
This hook is then used in styling an Animated component. This hook must be provided with an initial value which is then slowly converted to a final value ( this can be any value that the developer desires).
An animated value can be declared as below:
constructor(props){
    super(props)
    this.state = {
        fadeAnim: new Animated.value(1)
        // 1 because we will be altering opacity
        // of our view from 1 to 0
    }
}
2. Call to a function that returns animated values from start to end in a specific manner
Animations start from a point and end at a point, and we also know that animations are alterations in style attributes. These alterations are required to happen in a specific manner in order to make the animations smooth. For these reasons,
React Native provides animation functions according to the type of animation to be configured.
These functions include:
Animated.decay()starts with an initial velocity and gradually slows to a stop.Animated.spring()provides a simple spring physics model.Animated.timing()animates a value over time using easing functions.
Additionally, these animation functions could be configured as per requirement by configuring delay, duration, easing functions, decay factors, spring constants etc.
For our example a function call to Animated.timing() can be done as below:
Animated.timing(                  // Animate over time
  this.state.fadeAnim,            // The animated value to drive
  {
    toValue: 0,                   // Animate to opacity: 1 (opaque)
    duration: 10000,              // Make it take a while
  }
).start();                        // Starts the animation
This function call can be placed anywhere the developer desires, for example componentWillMount() function or inside onPress callback of a button.
3. An Animated component to which this animation is applied
Now we require an Animated component to bind this Animated value with. This can be any kind of component that the Animated API provides.
For our example, we can bind out Animated value with out Animated component as follows:
render() {
    let { fadeAnim } = this.state;

    return (
      <Animated.View                 // Special animatable View
        style={{
          ...this.props.style,
          opacity: fadeAnim,         // Bind opacity to animated value
        }}
      >
        {this.props.children}
      </Animated.View>
    );
  }
And your simple "fade-out" view animation is ready. I've added all the above parts to a standalone component that can be used inside another component. Code has been added below.
import React from 'react';
import { Animated, Text, View } from 'react-native';

class FadeOutView extends React.Component {
  state = {
    fadeAnim: new Animated.Value(1),  // Initial value for opacity: 0
  }

  componentDidMount() {
    Animated.timing(                  // Animate over time
      this.state.fadeAnim,            // The animated value to drive
      {
        toValue: 0,                   // Animate to opacity: 1 (opaque)
        duration: 10000,              // Make it take a while
      }
    ).start();                        // Starts the animation
  }

  render() {
    let { fadeAnim } = this.state;

    return (
      <Animated.View                 // Special animatable View
        style={{
          ...this.props.style,
          opacity: fadeAnim,         // Bind opacity to animated value
        }}
      >
        {this.props.children}
      </Animated.View>
    );
  }
}

// You can then use your `FadeOutView` in place of a `View` in your components:
export default class App extends React.Component {
  render() {
    return (
      <View style={{flex: 1, alignItems: 'center', justifyContent: 'center'}}>
        <FadeOutView style={{width: 250, height: 50, backgroundColor: 'powderblue'}}>
          <Text style={{fontSize: 28, textAlign: 'center', margin: 10}}>Fading Out</Text>
        </FadeOutView>
      </View>
    )
  }
}
Once this is done please make sure to get your hands dirty and try out different kinds of functions and animation styles, because practice is the key to getting better at this.
In the next article of my "Seamless Animations on React-Native" series we will explore a bit more of complex animations and will start constructing our "Target", the animated list page, which was shown in the Image above. Until then, this is Meet Sukhwani, signing off! (I've always wanted to say the last sentence!)