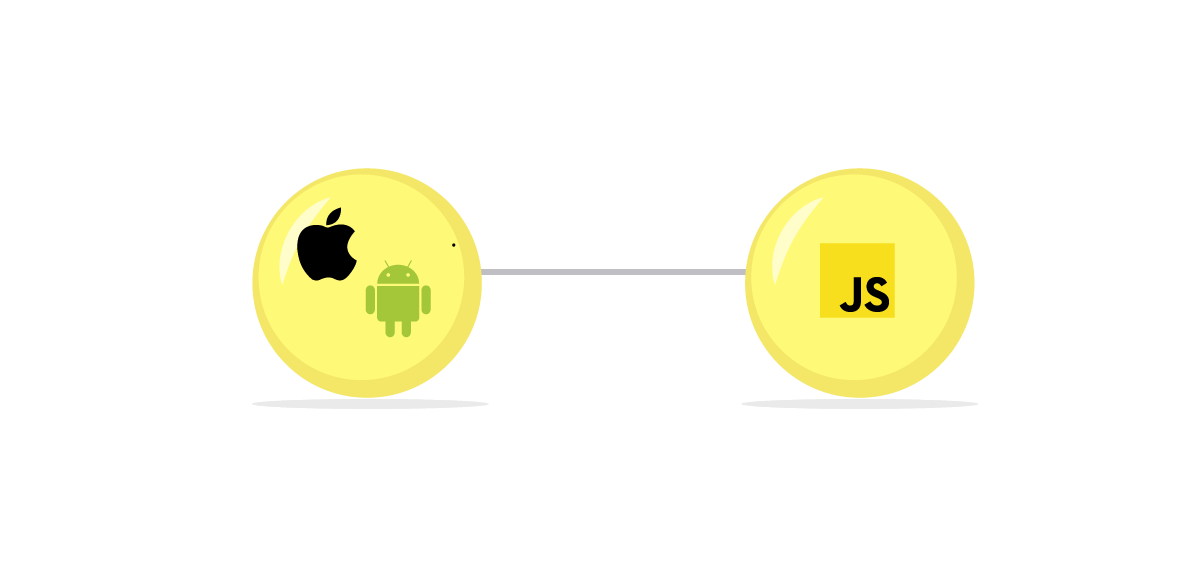
Communication between Native and React Native (Native Bridge)
This will be help full for cross-platform example like React code will work in both iOS and Android And We will create a component in swift or Objective C for iOS and Java for Android, and this will be used this app in a React Component.
This flow divided into two flow :
1) Android - React Native Bridging
2) iOS - React Native Bridging
This both flow follow this 3 step like :
Step 1) Create UI component
Step 2) Passing props to component
Step 3) Passing the Native state to React component
Let's Start With First Flow,
▪ Android - React Native Bridging
To get started we will create a BridgeView class in Java which will inherit from Android Button class. And then use this in our react code as component <Bridge />.
Open Android Studio and click on Open an existing Android Studio project and then select the android folder inside our app. Once all gradle dependency is downloaded, create a Java Class BridgeView.java as shown:
package com.lightapp;
import com.facebook.react.bridge.NativeModule;
import com.facebook.react.bridge.ReactApplicationContext;
import com.facebook.react.bridge.ReactContext;
import com.facebook.react.bridge.ReactContextBaseJavaModule;
import com.facebook.react.bridge.ReactMethod;
import com.facebook.react.bridge.Callback;
public class BridgeView extends ReactContextBaseJavaModule {
private static Boolean isOn = false;
public BridgeView(ReactApplicationContext reactContext) {
super(reactContext);
}
public void getStatus(Callback successCallback) {
successCallback.invoke(null, isOn);
}
public void turnOn() {
isOn = true;
System.out.println("Bulb is turn ON");
}
public void turnOff() {
isOn = false;
System.out.println("Bulb is turn OFF");
}
public String getName() {
return "BridgeView";
}
}
We have created a BridgeView Java class which is inherited from ReactContextBaseJavaModule. ReactContextBaseJavaModule requires that a function called getName is always implemented. The purpose of this method is to return the string name of the NativeModule which represents this class in JavaScript. So here we will call this BridgeView so that we can access it through React.NativeModules.BridgeView in JavaScript. Instead of BridgeView, we can have a different name also.
Next step is to register the module, if a module is not registered it will not be available from JavaScript. Create a file by clicking on Menu File -> New -> Java Class and the file name as BridgePackage and then click OK. And then add following code to BridgePackage.java
package com.lightapp;
import com.facebook.react.ReactPackage;
import com.facebook.react.bridge.NativeModule;
import com.facebook.react.bridge.ReactApplicationContext;
import com.facebook.react.uimanager.ViewManager;
import java.util.ArrayList;
import java.util.Collections;
import java.util.List;
public class BridgePackage implements ReactPackage {
@Override
public List<ViewManager> createViewManagers(
ReactApplicationContext reactContext) {
return Collections.emptyList();
}
@Override
public List<NativeModule> createNativeModules(
ReactApplicationContext reactContext) {
List<NativeModule> modules = new ArrayList<>();
modules.add(new Bridge(reactContext));
return modules;
}
}
We need to Override createNativeModules function and add the Bridge object to modules array. If this is not added here then it will not be available in JavaScript.
BridgePackage package needs to be provided in the getPackages method of the MainApplication.java file. This file exists under the android folder in your react-native application directory. Update the following code in android/app/src/main/java/com/BridgeApp /MainApplication.java
public class MainApplication extends Application implements ReactApplication {
...
@Override
protected List<ReactPackage> getPackages() {
return Arrays.<ReactPackage>asList(
new MainReactPackage(),
new BridgePackage()
);
}
....
}
▪ iOS - React Native Bridging
To get started we will create a Bridge class in swift, which will have a static class variable isOn and a few other functions. And then we will access this swift class from Javascript. Let's start by opening BridgeApp.xcodeproj file in ios folder. It should open Xcode with your ios code.
We have also clicked on Create Bridging Header which will create a file BridgeApp-Bridging-Header.h This will help to communicate between Swift and Objective C code. Remember that in a project we have only one Bridge Header file. So if we add new files, we can reuse this file.
Update following code in BridgeApp-Bridging-Header.hfile:
#import "React/RCTBridgeModule.h"
RCTBridgeModule will provide an interface to register a bridge module. Next update Bridge.swiftwith the following code:
import Foundation
@objc(Bridge)
class Bridge: NSObject {
@objcstatic var isOn = false
@objcfunc turnOn() {
Bridge.isOn = true
print("Bridge is now ON")
}
}
Now create a new file from File -> New -> File and select Objective-C file and then name the file as Bridge.m and update following code:
#import "React/RCTBridgeModule.h"
@interface RCT_EXTERN_MODULE(Bridge, NSObject)
RCT_EXTERN_METHOD(turnOn)
@end
▪ React-native code for both platforms
Now let’s update JavaScript code and access this Bridge class from our React component. To do so open App.js and update with the following code:
import React, {Component} from 'react';
import {StyleSheet, Text, View, NativeModules, Button} from 'react-native';
export default class App extends Component{
turnOn = () => {
NativeModules.Bridge.turnOn();
}
render() {
return (
<View style={styles.container}>
<Text style={styles.welcome}>
Welcome to Light App!!
</Text>
<Button onPress={this.turnOn}
title="Turn ON "
color="#FF6347"
/>
</View>
);
}
}
const styles = StyleSheet.create({
container: {
flex: 1,
justifyContent: 'center',
alignItems: 'center',
backgroundColor: '#F5FCFF',
},
});
Now run the iOS simulator and emulator and you can see the Outputs.
Thank You,
Written by Sejal Virda.


